In a recent attempt to learn about how Vault works, I decided to create a hands-on tutorial on how to setup a multi-node Vault cluster on AWS. The cluster should be deployable via terraform and supports the following:
- Supports multiple nodes, at least three
- Supports TLS encrypted connection end-to-end
- Uses raft autostorage with auto-join
- Automated backup of Raft storage files regulary to S3
Setting up DNS and TLS
Before setting up any infrastructure, I registered a new domain with Route53. Then, I created a TLS certificate via LetsEncrypt using the certbot/dns-route53 image. We mount a local directory to store the generated TLS certificates and invoke the image as so:
1
2
3
4
5
6
7
8
9
10
docker run -it --rm --name certbot \
    --env-file env-file  \
    -v "/home/user/.aws:/root/.aws" \
    -v "${PWD}/tls:/etc/letsencrypt" \
    -v "${PWD}/tls:/var/lib/letsencrypt" \
    certbot/dns-route53 certonly \
    -d 'example.xyz' \
    -d 'vault.example.xyz' \
    -m user@email.com \
    --agree-tos --server https://acme-v02.api.letsencrypt.org/directory
We pass the AWS profile and region via an env-file and mount the local AWS credentials into the container. We need to specify each domain to be registered via the -d flag. Note that each domain and sub-domain must be specified individually on each newline. Localhost and IP addresses are not allowed. Once completed, the image will return with a success message as so:
1
2
3
4
5
Successfully received certificate.
Certificate is saved at: /etc/letsencrypt/live/example.xyz/fullchain.pem
Key is saved at:         /etc/letsencrypt/live/example.xyz/privkey.pem
This certificate expires on 2025-01-27.
These files will be updated when the certificate renews.
The generated certificate and private key are stored at the current tls sub-directory. We only require the fullchain and privkey files for Vault.
Next, we need to store them encrypted in a central location on AWS, such as Secrets Manager. This will be accessed later when we run setup on each Vault node:
1
2
3
4
5
6
7
aws secretsmanager create-secret --name "VAULT_TLS_PRIVKEY" \
   --description "Vault Private key file" \
   --secret-binary fileb://${PWD}/tls/archive/example.xyz/privkey1.pem

aws secretsmanager create-secret --name "VAULT_TLS_CERT" \
   --description "Vault Certificate file" \
   --secret-binary fileb://${PWD}/tls/archive/example.xyz/cert1.pem
Configuring the Vault nodes
To enable the Vault nodes to be scaled dynamically, I decided to create an autoscaling group which runs the same launch template to install vault. The launch template creates a user data script that updates the system packages before installing and running vault as a systemd service.
Firstly, we download the TLS certificates created in the previous stage and save them onto each instance:
1
2
3
4
5
6
7
8
9
10
11
12
13
14
15
16
17
18
19
20
21
sudo mkdir -pm 0755 ${tpl_vault_storage_path}/tls
sudo chown -R vault:vault ${tpl_vault_storage_path}/tls
sudo chmod -R a+rwx ${tpl_vault_storage_path}/tls

# get the private key
sudo aws --region ${tpl_aws_region} secretsmanager get-secret-value \
  --secret-id VAULT_TLS_PRIVKEY \
  --query 'SecretBinary' \
  --output text | base64 --decode > ${tpl_vault_storage_path}/tls/vault_key.pem

sudo aws --region ${tpl_aws_region} secretsmanager get-secret-value \
  --secret-id VAULT_TLS_CERT \
  --query 'SecretBinary' \
  --output text | base64 --decode > ${tpl_vault_storage_path}/tls/vault_ca.crt


sudo chmod 0600 ${tpl_vault_storage_path}/tls/vault_ca.crt
sudo chown vault:vault ${tpl_vault_storage_path}/tls/vault_ca.crt

sudo chmod 0640 ${tpl_vault_storage_path}/tls/vault_key.pem
sudo chown vault:vault ${tpl_vault_storage_path}/tls/vault_key.pem
Below is a vault configuration file:
1
2
3
4
5
6
7
8
9
10
11
12
13
14
15
16
17
18
19
20
21
22
23
24
25
26
27
28
29
30
31
32
33
34
PRIVATE_IP=$(curl http://169.254.169.254/latest/meta-data/local-ipv4)
INSTANCE_ID=$(curl http://169.254.169.254/latest/meta-data/instance-id)

api_addr = "https://vault.example.xyz:8200"
cluster_addr = "https://$${PRIVATE_IP}:8201"

disable_mlock = true
ui=true

storage "raft" {
  path    = "${tpl_vault_storage_path}"
  node_id = "$${INSTANCE_ID}"

  retry_join {
    auto_join_scheme = "https"
    auto_join = "provider=aws region=${tpl_aws_region} tag_key=cluster_name tag_value=vault-dev"
    leader_tls_servername = "vault.example.xyz"
    leader_client_cert_file = "${tpl_vault_storage_path}/tls/vault_ca.crt"
    leader_client_key_file = "${tpl_vault_storage_path}/tls/vault_key.pem"
  }
}

listener "tcp" {
  address = "0.0.0.0:8200"
  cluster_address = "0.0.0.0:8201"
  tls_disable = 0
  tls_cert_file = "${tpl_vault_storage_path}/tls/vault_ca.crt"
  tls_key_file = "${tpl_vault_storage_path}/tls/vault_key.pem"
}

seal "awskms" {
  region = "${tpl_aws_region}"
  kms_key_id = "${tpl_kms_id}"
}
Vault provides 2 services: an api service on 8200 and a cluster service on 8201. The api service is accessible externally while the cluster api is used by raft autojoin for node discovery. Note that we set the api_addr to match the domain defined in the TLS cert. Within the retry_join block we define the scheme to be https and set the leader_tls_servername to match the domain registered with the certificate. This is essential for autojoin to work correctly with a https scheme. Then, we point the leader client cert and key files to the same ones downloaded earlier via secrets manager.
Note that under seal key, we also create and define a custom KMS key to unseal the vault.
Once the above is applied, we start the vault service via systemd:
1
2
3
sudo systemctl enable vault

sudo systemctl start vault
In order for the setup to complete, we need to run vault operator init on any one of the ready instances. This would make that instance the leader node and invoke autojoin on the remaining instances to join the cluster as workers.
Within the terraform resource file for ASG, we create a terraform_data resource that calls a custom script which waits for any of the provisioned instance to be ready. The first instance in the ASG which is ready is selected as the leader node. SSM RunCommand is invoked on the leader node which runs a custom script that calls vault operator init to create the initial root and recovery tokens, which are saved in secrets manager. It proceeds to enable kv-v2 secrets engine and enable the userpass auth engine, before creating an admin user. Lastly, we enable the auto cleanup of dead raft peers and maintains a majority of the vault nodes during autoscaling:
1
2
3
4
5
6
7
8
9
10
11
12
13
14
15
16
17
18
19
20
export VAULT_SKIP_VERIFY=true
export VAULT_ADDR=https://127.0.0.1:8200

vault operator init -address="https://127.0.0.1:8200" -recovery-shares 1 -recovery-threshold 1 -format=json > /tmp/key.json

export VAULT_TOKEN=$(cat /tmp/key.json | jq -r ".root_token")

vault secrets enable -path=secret kv-v2

vault auth enable userpass

vault policy write superuser -<<EOF
path "*" {
capabilities = ["create", "read", "update", "delete", "list", "sudo"]
}
EOF

vault write auth/userpass/users/vault_admin password="${tpl_password}" policies="superuser"

vault operator raft autopilot set-config -min-quorum=3 -cleanup-dead-servers=true -dead-server-last-contact-threshold=120
Creating the network load balancer
At this stage, the vault nodes are running on EC2 instances in a private subnet. To allow access to the UI, we need to create a load balancer in the public subnet that forwards any traffic to a target group which is associated with the ASG defined in the first stage. We define a healthcheck on this target group at the api endpoint /v1/sys/health?standbyok=true with the HTTPS protocol.
We use a network load balancer as the traffic is encrypted end-to-end since TLS termination occurs on the target rather than on the load balancer itself. This would not work if TLS termination occurs on the load balancer such as with an Application Load Balancer.
We define two listeners on the network load balancer:
- A TCP listener on port 8200 for the api endpoint
- A TCP listener on port 443, which allows the load balancer to pass encrypted traffic to the target without decrypting it
Finally, we define an A record which is an alias to the network load balancer defined previously.
Setting up autosnapshot
Since we are running vault behind a load balancer, creating a vault snapshot via the UI will not work as the vault operator raft snapshot command can only be run on the leader node and the load balancer will direct traffic to any of the nodes in the cluster.
We can use the EventBridge scheduler to run an SSM command on the leader node on a predefined schedule to create the snapshot and upload it to S3.
1
2
3
4
5
6
7
8
9
10
11
12
13
14
15
16
17
18
19
20
21
22
23
24
25
26
27
28
29
30
31
32
33
34
35
36
37
38
39
40
41
resource "aws_ssm_document" "vault_restore" {
  name            = "setup_vault_restore"
  document_type   = "Command"
  document_format = "YAML"

  content = templatefile("${path.module}/setup_vault_restore.yaml", {
    tpl_s3_bucket = local.snapshot_bucket
  })
}

data "aws_instance" "leader" {
  instance_tags = {
    ROLE = "LEADER"
  }
}

resource "aws_scheduler_schedule" "vault_restore" {
  name       = "vault_restore"

  flexible_time_window {
    mode = "OFF"
  }

  schedule_expression = "cron(0/5 * * * ? *)"
  schedule_expression_timezone = "Europe/London"

  target {
    arn      = "arn:aws:scheduler:::aws-sdk:ssm:sendCommand"
    role_arn = aws_iam_role.scheduler.arn

    input = jsonencode({
      DocumentName = "setup_vault_restore"
      DocumentVersion = "$LATEST"
      InstanceIds  = [data.aws_instance.leader.id]
      CloudWatchOutputConfig = {
        CloudWatchLogGroupName = "vault_restore"
        CloudWatchOutputEnabled = true
      }
    })
  }
}
1
2
3
4
5
6
7
8
9
10
11
12
13
14
15
16
17
18
19
20
21
22
23
24
schemaVersion: "2.2"
description: "Vault setup script"
parameters: {}
mainSteps:
  - action: "aws:runShellScript"
    name: "example"
    inputs:
      timeoutSeconds: '600'
      runCommand:
        - |
          export VAULT_SKIP_VERIFY=true
          export VAULT_ADDR=https://127.0.0.1:8200

          sudo mkdir -pm 0755 /opt/vault/data/snapshot
          sudo chown -R vault:vault /opt/vault/data/snapshot
          sudo chmod -R a+rwx /opt/vault/data/snapshot

          DATE=`date +%Y-%m-%d-%H-%M-%S`

          vault operator raft snapshot save /opt/vault/data/snapshot/vaultsnapshot-$DATE.snap

          aws s3 cp /opt/vault/data/snapshot/vaultsnapshot-$DATE.snap s3://${tpl_s3_bucket}/

          echo "Completed the backup - " $DATE
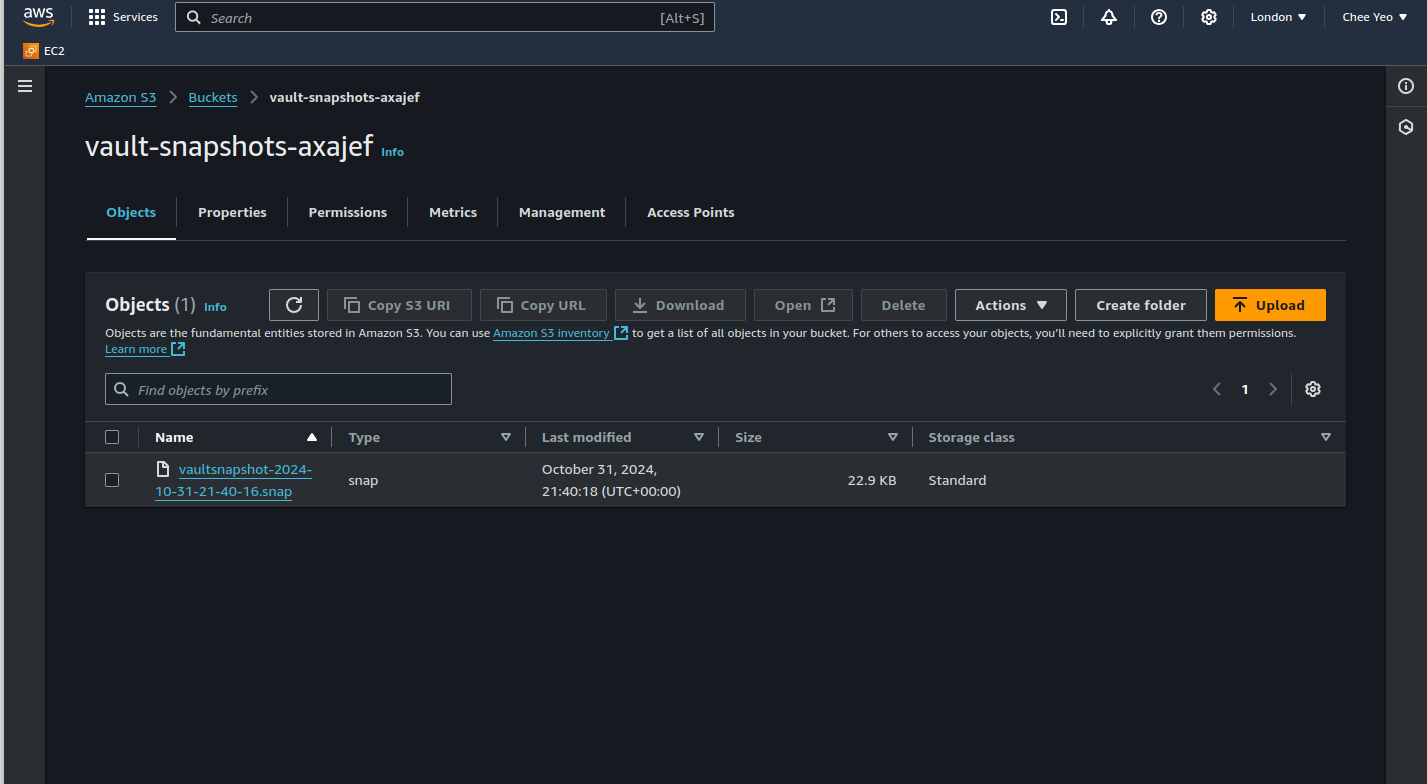
The SSM command runs vault operator raft snapshot to create a snapshot which gets copied to the specified S3 bucket in its configuration.
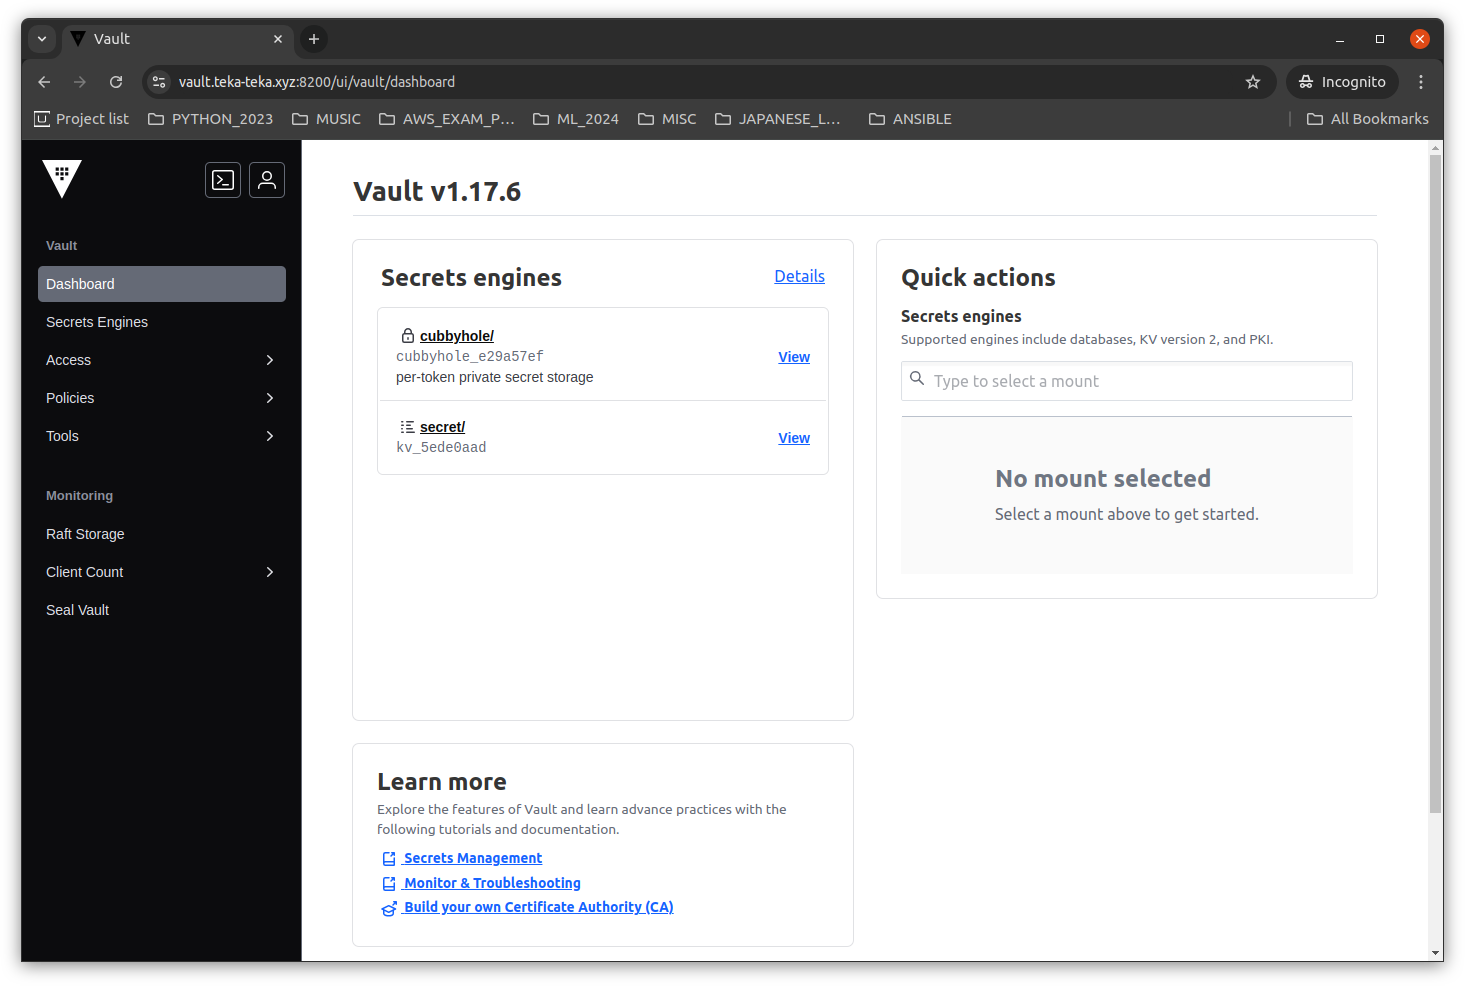
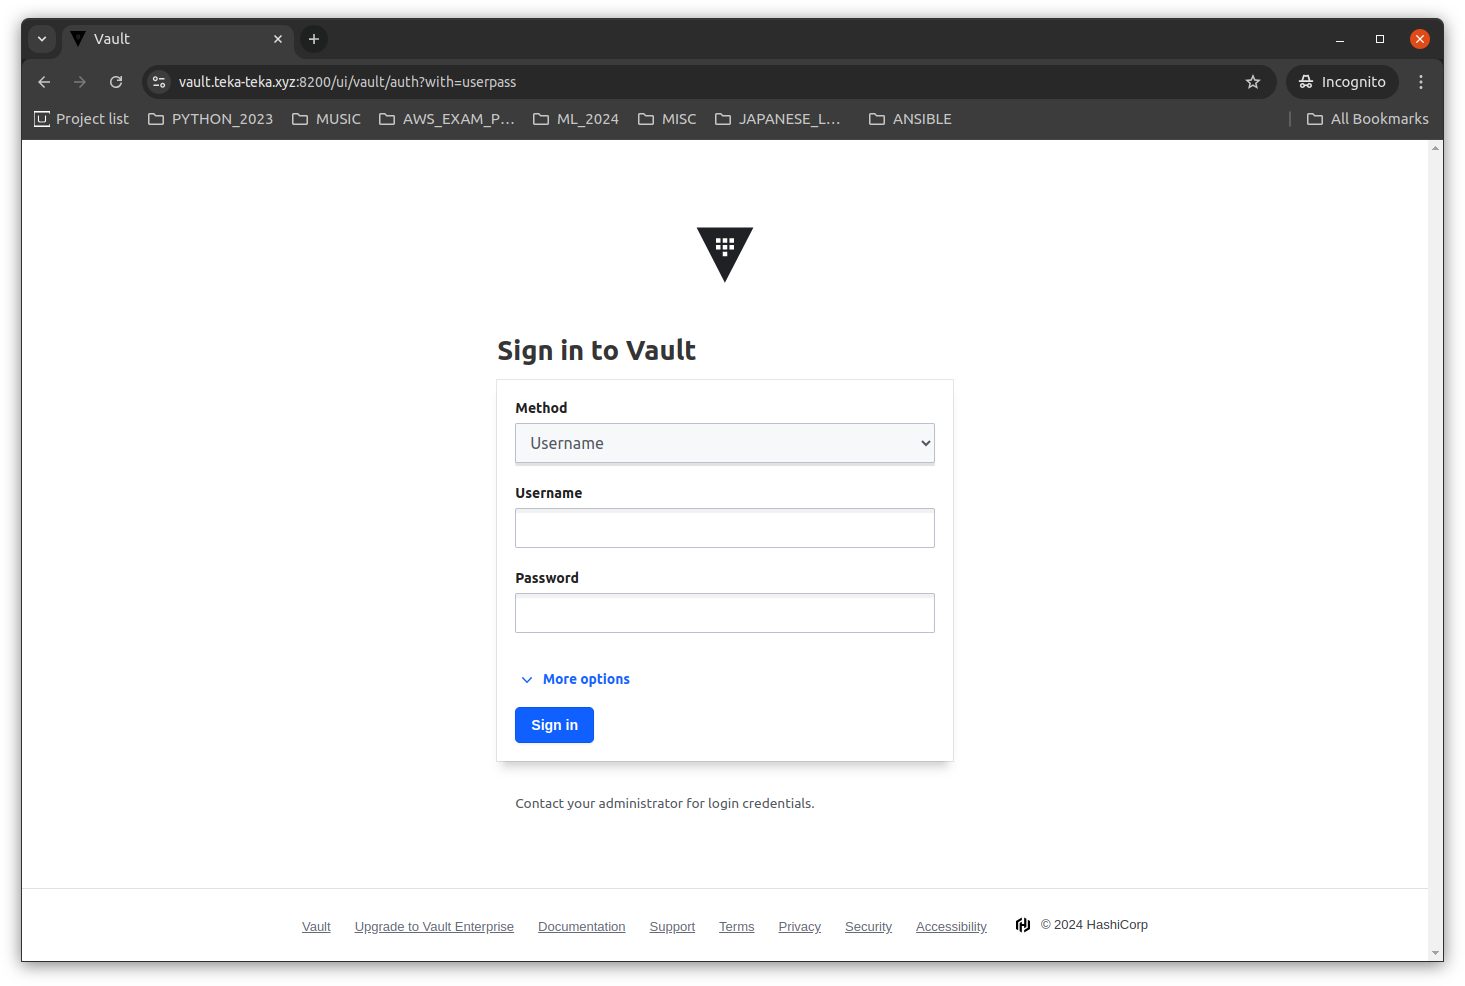
Below are screenshots after running the above terraform modules.


The terraform modules will be open sourced once the final refactorings are completed.
H4PPY H4CK1NG!