In my previous blog post, I described building a data pipeline to process receipt images for OCR processing via AWS Textract. Despite applying various transformations to the segmented image, I was unable to obtain a successful text analysis of the image in some instances. After reading through AWS Textract FAQs, I realised that there are some cavaets in its application.
Here I attempt to highlight some of those issues and how it can be solved.
Caveat 1: Text needs to be upright and segmented from background
Assuming that you have managed to retrieve an image of the expense object to pass to Textract for OCR, you will still need to perform additional post-processing on the extracted image.
The first approach is to apply image thresholding on the extracted image. This helps to distinguish features of interest from the background, such as the text in the image.
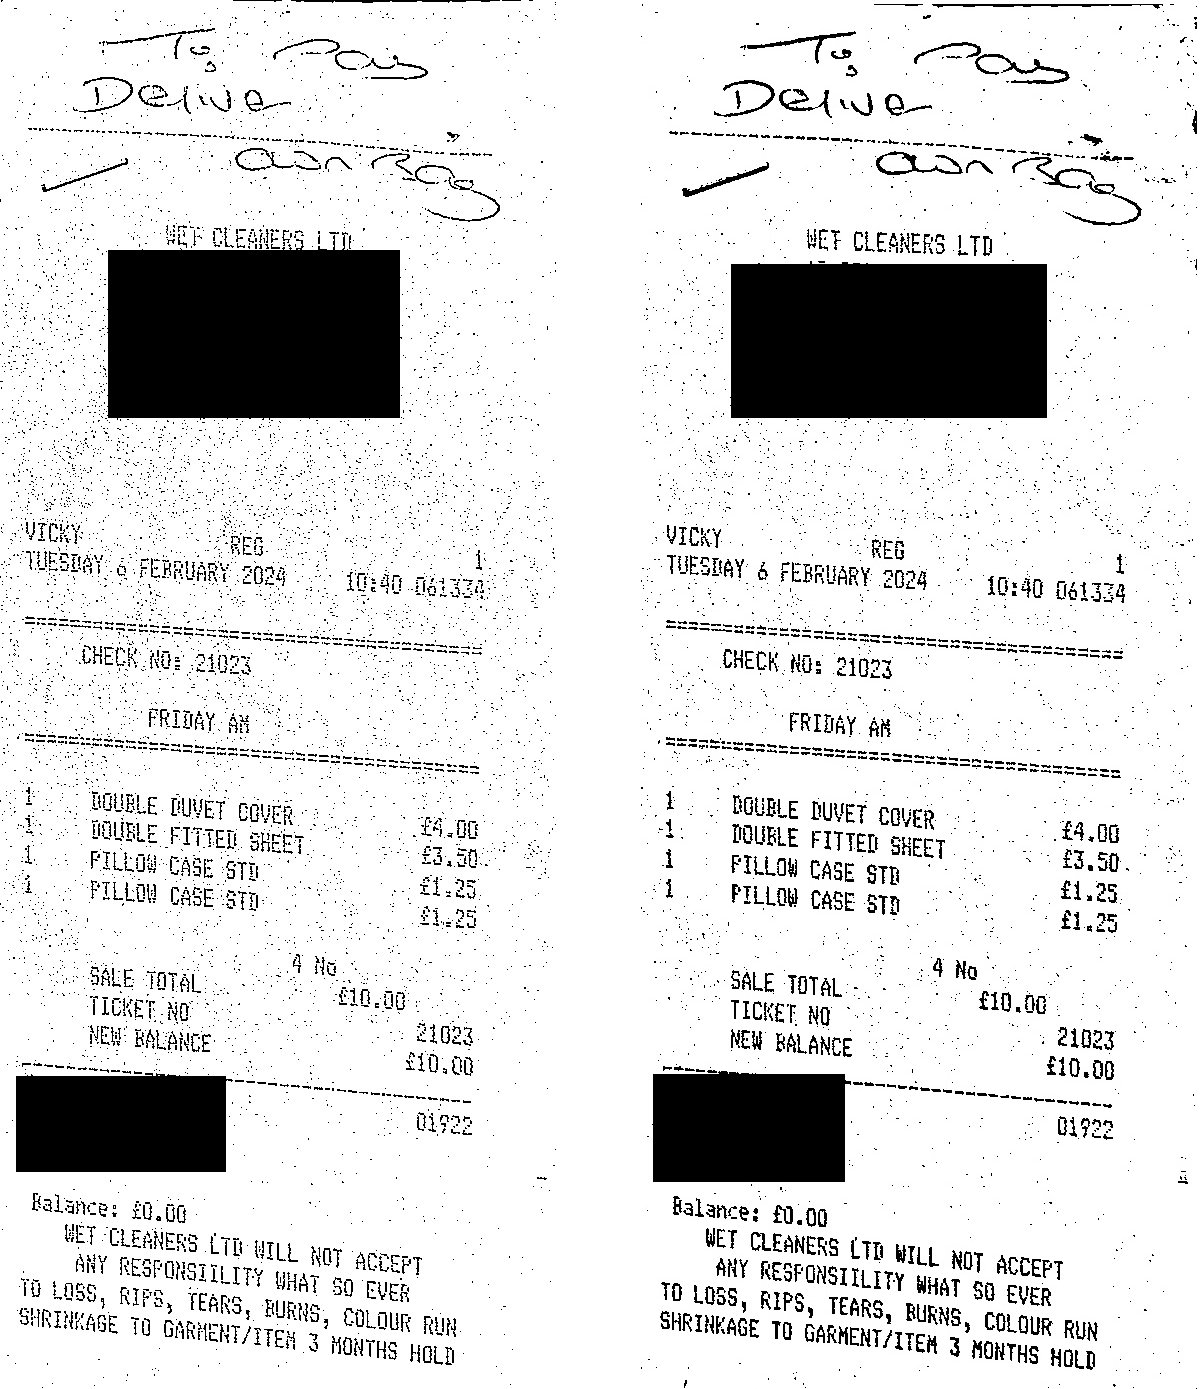
There are many different types of thresholding operations but after many experiements, the one I found to work the best is Sauvola Thresholding. It calculates a threshold value for every pixel rather than a global value. The resulting image is sharper compared to Otsu or Local thresholding. The image on the left below shows the effect of applying Local thresholding compared to the image on the right, which has Sauvola Thresholding applied.
Notice the difference in the sharpness of the text in the image on the right.
If we apply Textract to the image on the right, it still can’t process the complete list of line items even though its sharper.
This is the CSV output returned by Textract:
,ITEM,PRICE,PRODUCT_CODE,QUANTITY,UNIT_PRICE
0,DOUBLE DUVET COVER,£4.00,,1,
1,PILLOW CASE STD,£1.25,,1,
2,,£3.50,,1,
Notice that Textract is only able to partially process the line items with some of them missing or overlapping previous items.
This is due to the fact that the text in the binarized image is skewed. This is the result of applying top-down perspective transform on a receipt image where the receipt object has dents or folds in its edges.
We need to apply text skew correction to get the text upright. I applied the Text Skew Correction techniques outlined in the blog post and was able to obtain a fairly accurate representation as shown in the image on the right below:
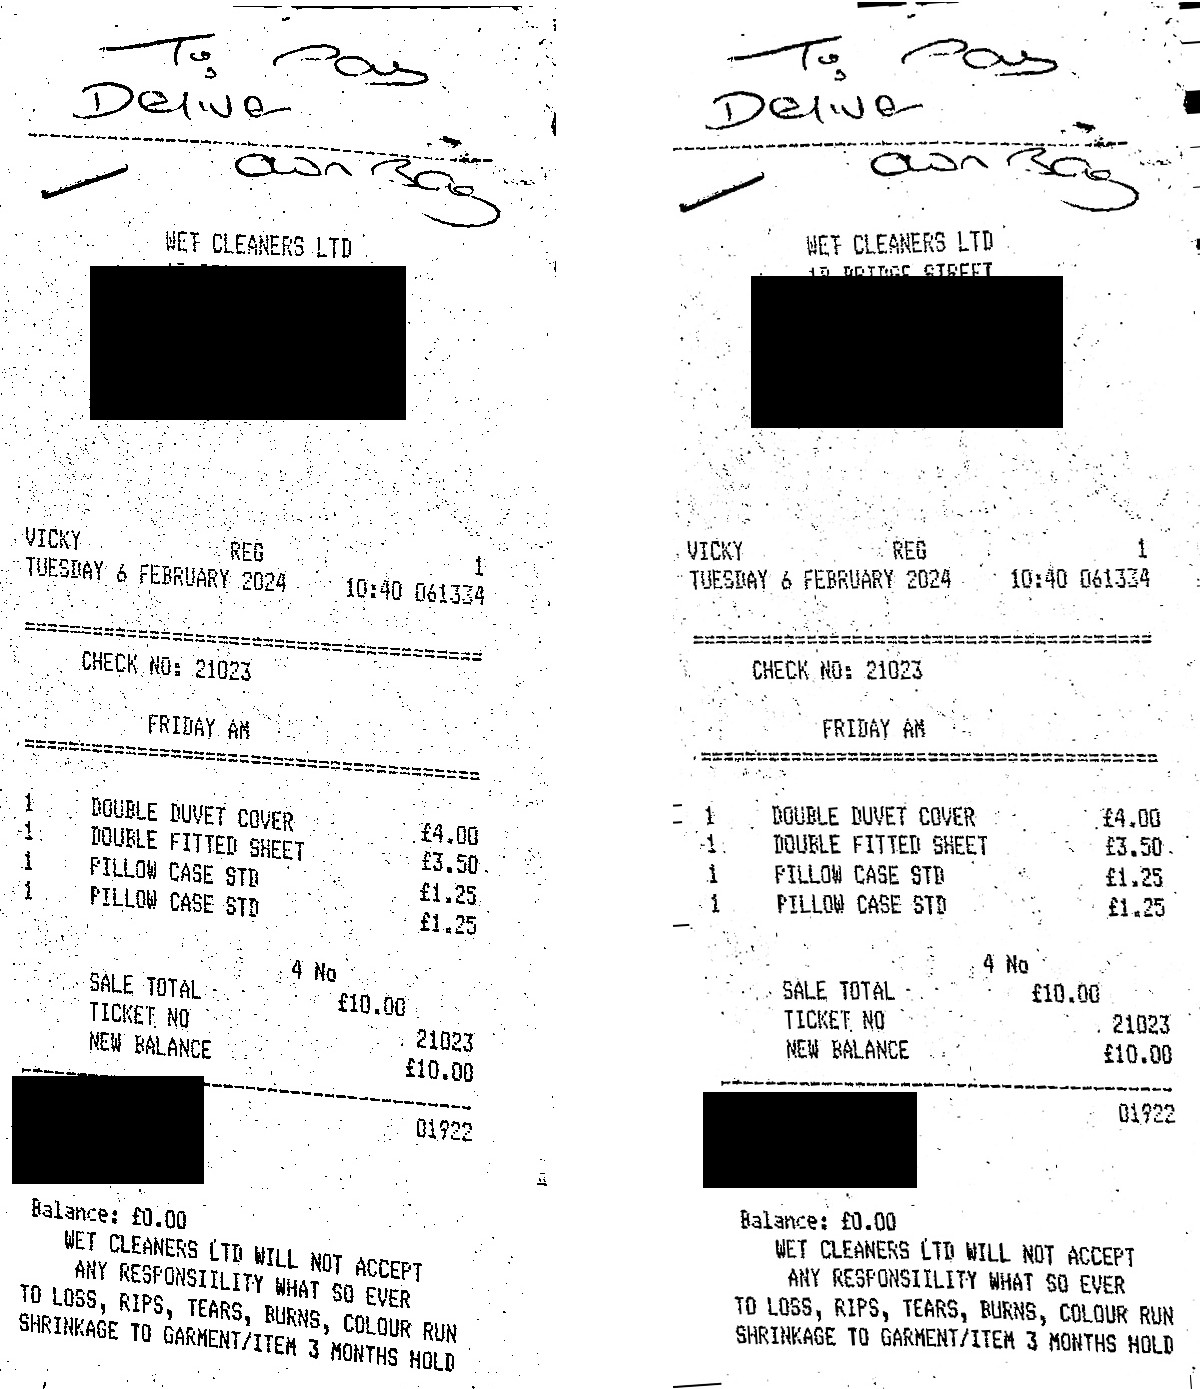
If we apply Textract to the image on the right, we see that it’s able to process the line items accurately via the following output:
VENDOR_NAME: WET CLEANERS LTD

[|ITEM: DOUBLE DUVET COVER | PRICE: £4.00 | QUANTITY: 1 | EXPENSE_ROW: 1 DOUBLE DUVET COVER £4.00 |
|ITEM: DOUBLE FITTED SHEET | PRICE: £3.50 | QUANTITY: 1 | EXPENSE_ROW: 1 DOUBLE FITTED SHEET £3.50 |
|ITEM: FILLOW CASE STD | PRICE: £1.25 | QUANTITY: 1 | EXPENSE_ROW: 1 FILLOW CASE STD £1.25 |
|ITEM: PILLOW CASE STD | PRICE: £1.25 | QUANTITY: 1 | EXPENSE_ROW: 1 PILLOW CASE STD £1.25 |
]
The resulting CSV of line items include every item on the image:
,ITEM,PRICE,PRODUCT_CODE,QUANTITY,UNIT_PRICE
0,DOUBLE DUVET COVER,£4.00,,1,
1,DOUBLE FITTED SHEET,£3.50,,1,
2,FILLOW CASE STD,£1.25,,1,
3,PILLOW CASE STD,£1.25,,1,
Caveat 2: Image quality has to be at least 150 DPI
The second issue covers the DPI of the image. If you apply multiple image transformations such as scaling or resize, the DPI of the image would change.
Although this tends to affect the print quality of an image, Textract requires the scanned image to be of at least 150 DPI.
After applying image transformations, I rescaled the resultant image to be at least 300 DPI. This has helped in some instances in picking up missing line items but not in all cases so it remains an edge case.
Caveat 3: Use AWS Textractor library
There are a lot of articles online on how to process the analysis data after it is processed by textract.
After trying out some of the older libraries, I settled on AWS Textractor.
The library is well documented and easy to use. The textract processing script becomes:
import argparse
from textractor import Textractor


if __name__ == "__main__":
    ap = argparse.ArgumentParser()
    ap.add_argument("--img", help="Path to image")
    ap.add_argument("--csv", help="Path to output csv")
    args, _ = ap.parse_known_args()

    extractor = Textractor(profile_name='XXX')

    document = extractor.analyze_expense(
        file_source=args.img
    )

    expense_doc = document.expense_documents[0]
    print(expense_doc.summary_fields)
    print(expense_doc.summary_fields['VENDOR_NAME'][0])

    # Get line items via csv format...
    res = expense_doc.line_items_groups[0].to_csv()

    with open(args.csv, 'w') as f:
        f.write(res)
The script above reads in an image path and the target destination to save the line items to a CSV file for further processing.
Using the above approaches, I was able to overcome some of the initial issues I came across when using Textract.